Exciting news from Stampin' Up! For the first time ever, one of the new Product Suites from the upcoming 2020-2021 Annual Catalog will be released early!! I was able to get my hands on these amazing products already and I am so excited to share with you some of the fun creations I've come up with - a true Sneak Peak!
The Ornate Garden Suite will be available to customers beginning April 1 - and that's no joke!!!

Yesterday I brought you a Thank You card - today I chose to make a card celebrating friendship!

Instructions:
- Cut a base of Mossy Meadow at 8.5" x 5.5", scored and folded at 4.25" on the long side. Use your bone folder to burnish the fold
- Cut another piece of Mossy Meadow, this time to 4" x 5.25" - emboss with the Ornate Floral 3D Embossing Folder.
- Using the die with daisies from the Ornate Borders dies, cut a piece of Champagne Foil
- From the Ornate Garden Specialty DSP, cut a 4" x 5.25" piece of the yellow pattern with Terracotta Tile flowers
- Using the same die from step 3, cut this DSP on an angle
- Adhere the cut DSP to the embossed piece of Mossy Meadow
- Adhere the Champagne Foil border to the piece of embossed Mossy Meadow, lining it up in the places where the DSP was cut using the same die - your foil strip will hang over the edges - trim this excess foil paper
- Adhere this completed piece to the card front, centered
- Using the smallest frame from the Ornate Borders dies, cut a piece of Very Vanilla
- Put this Very Vanilla piece into your Stamparatus and secure with a magnet
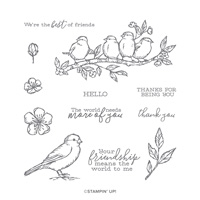
- From the Beautiful Bouquet stamp set, choose the sentiment "I couldn't have picked a better friend than you" and stamp it centered on the piece of Very Vanilla - it will fit perfectly and your Stamparatus will help ensure that you stamp right where you want to
- Use Stampin' Dimensionals to adhere your sentiment to the card front
- Cut 3 of each of the flowers from the Ornate Borders dies in Terracotta Tile
- Use your Stampin' Pierce Mat and the stylus end of the Take Your Pick tool to give your flowers some dimension. Do this to all but two of the smallest flower
- Glue the two smallest flowers that are still flat to the sentiment panel
- Layer the remaining flowers in groups of two on top of the Champagne Foil border - this gives a beautiful contrast and all adds some depth to your card

If you purchase $150 or more, take advantage of the Hostess Rewards for yourself! If you purchase less, please use this Hostess Code: RDFBQXNE. I will pick a random customer at the end of the month from all orders that use this code to receive the Hostess Rewards - it could be you!!
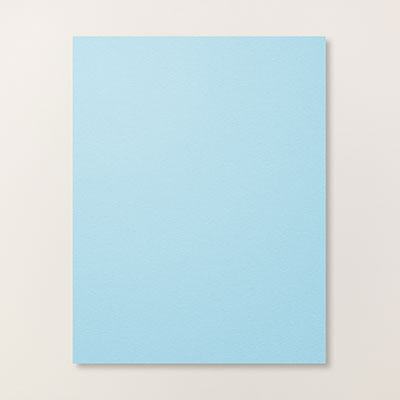
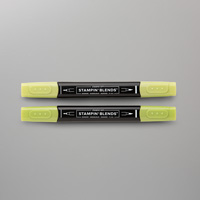
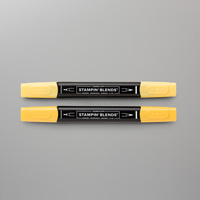
Today's Colors:
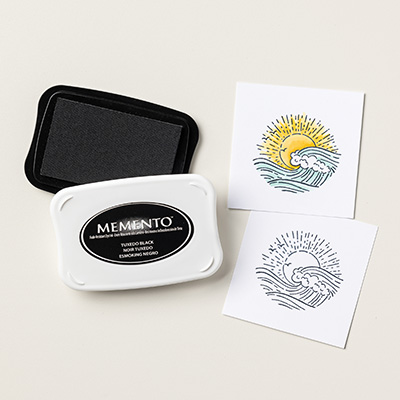
Products Used: